
If you wish to share your Mac screen with another person, taking a screenshot becomes a practical solution. When you take a screenshot, you can choose to capture the entire screen or just a portion of it, all using the tools natively available on your device.
- How To Take a Screenshot on Mac
- Capture the Entire Screen
- Capture a Portion of the Screen
- Capture a Specific Window
- Using the Preview App
- Official Apple Link for Taking a Screenshot on a Mac
How To Take a Screenshot on Mac
On Mac computers, you can take a screenshot using simple key combinations. If you wish to exit the process before you have taken the screenshot, you can easily press the [Esc] key in the upper-lefthand corner of your keyboard.By default, your screenshot will be saved in PNG format and can be located on the desktop of your computer. You can always modify these settings using an external software, like Onyx for Mac. After you have launched Onyx, you can choose the file type in the Settings section and the save location in the Path section.
Capture the Entire Screen
To capture the entire screen, press [⌘] + [Shift] + [3]:
Capture a Portion of the Screen
To capture a selected portion of your screen, first press [⌘] + [Shift] + [4]. When you release the keys, your cursor should change into a + symbol. You can, now, use this tool to select what you would like to capture by clicking and dragging to form a box around the desired screen section: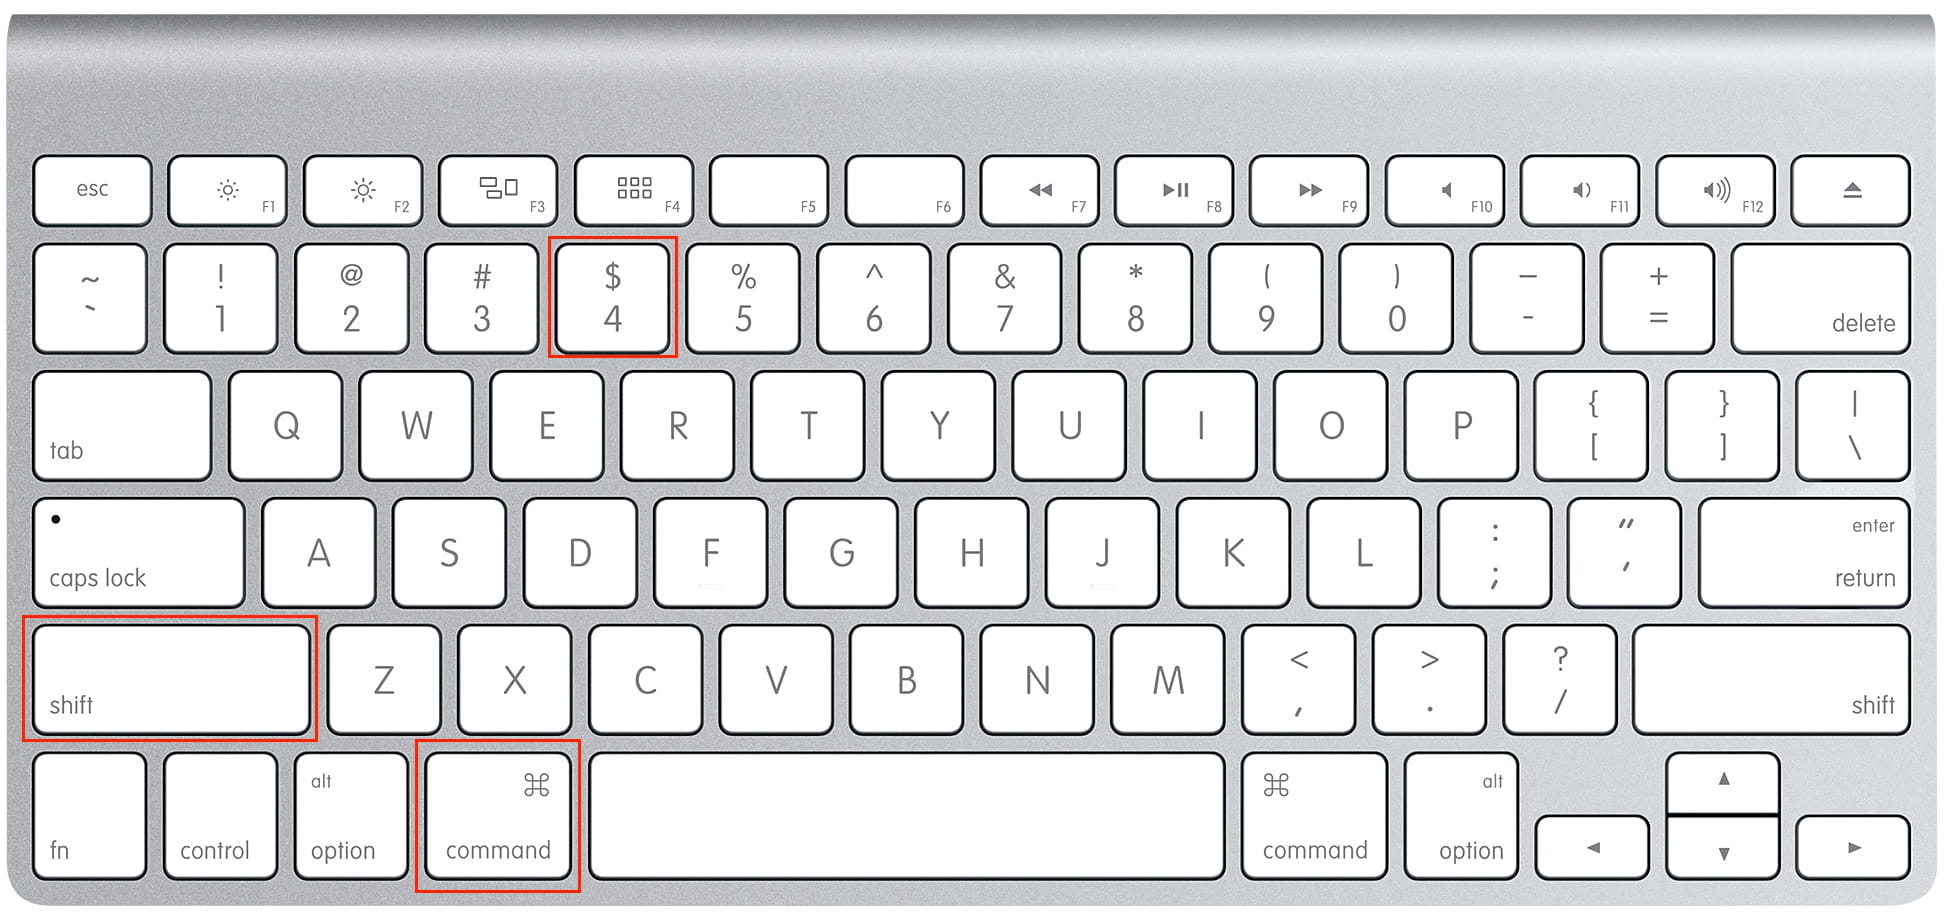
Capture a Specific Window
To take a screenshot of a specific window, simultaneously press the [⌘] + [Shift] + [4] keys, then press the [space bar]. Next, place the cursor, which is now in the form of a camera, in the window that you would like to capture, and click: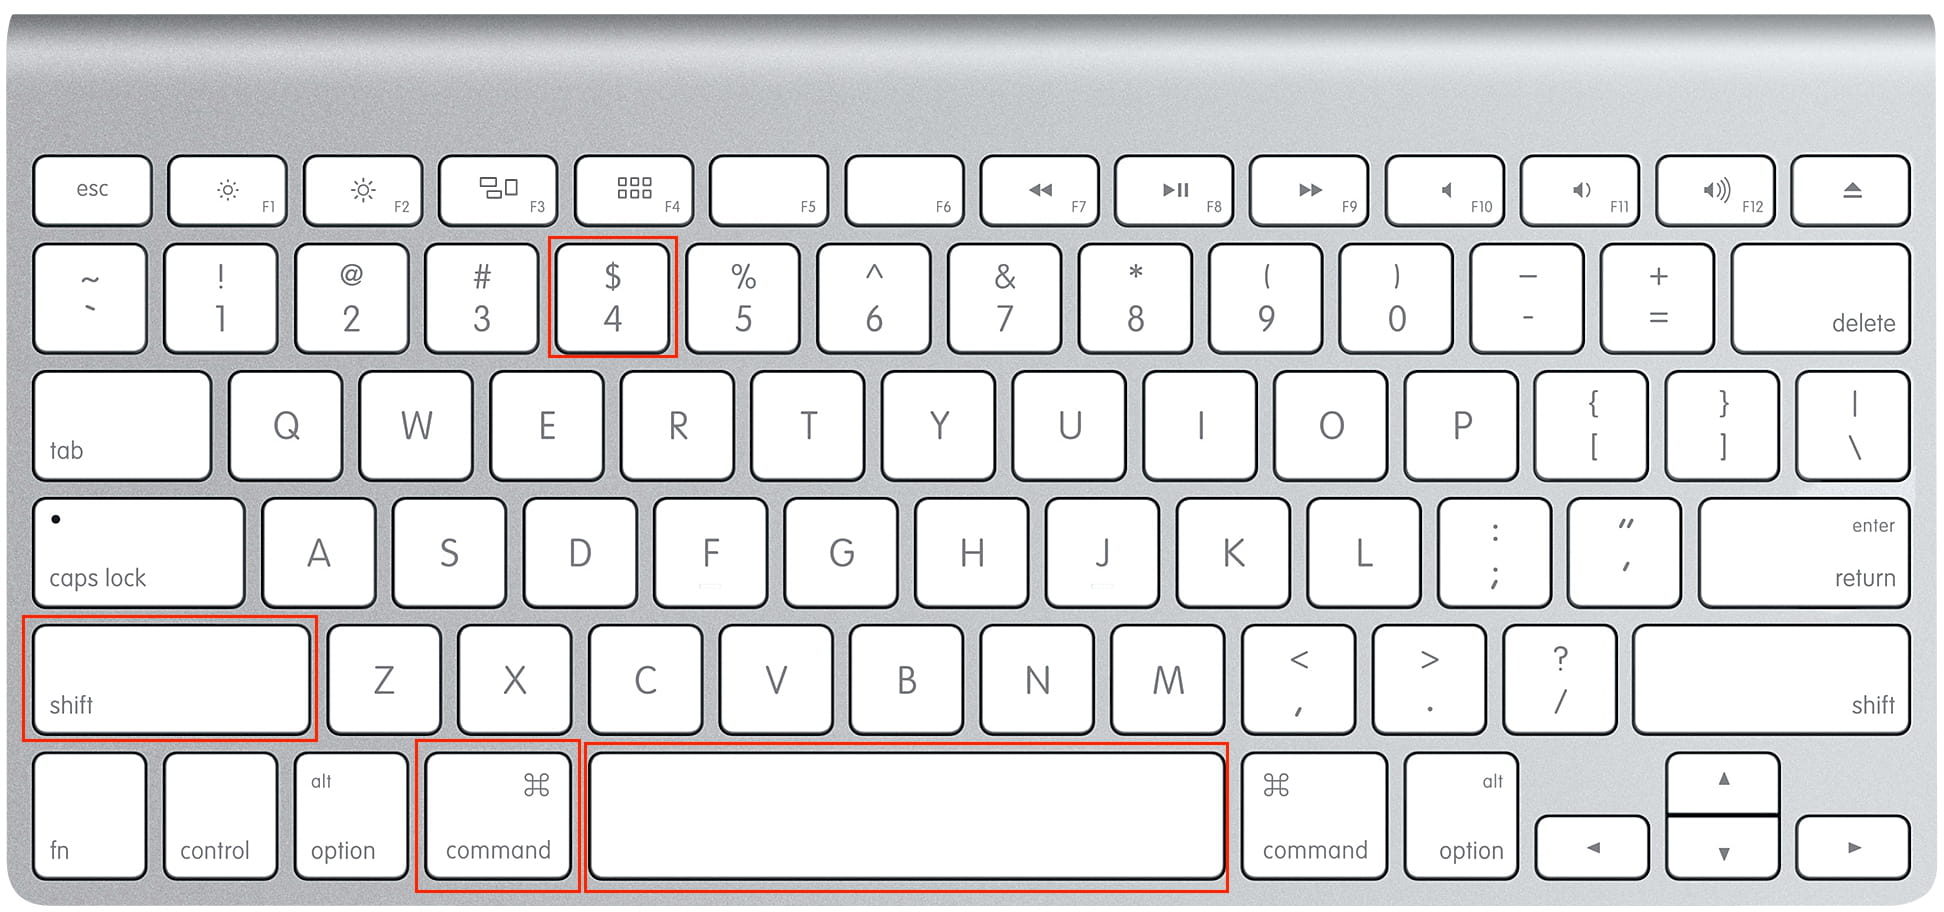


No comments:
Post a Comment